
I've been looking at replacing my current rail setup for a while now. After reviewing the excellent Yankee Hill Machine Diamond Series rails, I was impressed with the rails themselves, but I wasn't a big fan of the added weight. And although I liked the Spector-length rails, they were still a little short for me. So I started looking around and I really liked the look of the Midwest Industries (MI) rails.
Their new Gen II SS rails were just what I was looking for, a thin tube with rail sections that I could add where I needed them, and leave them off where I didn't. I was planning on ordering a set to test, but before I could do that, I was confronted by a MI Gen II SS in the 15" length at my local gun store.
So I did what any self-respecting gun owner would do. I forked over my card, and took the rails home. Once home, I took the handguard out of the package, and my jaw literally dropped. The included barrel nut wrench made up almost half the weight of the package. I couldn't believe it.
Installation
Installation of the MI handguard was a snap. Remove your old handguards, delta ring, barrel nut, and gas tube as normal. You might want to take down your barrel at this time and give it a good cleaning as well. With the 15" version, obviously I would need a low profile gas block, which was fine as I had the YHM low-pro gas block from my last rail set, so I was good to go.
Replace your barrel in your upper receiver, torque on the proprietary barrel nut with the supplied wrench, and line up your gas tube with the indentations in the barrel nut as normal. Once that is done, secure your gas block to the barrel as normal. Don't forget the loctite.
Then slide the MI rail set over your barrel and index the top rail on the handguards with the top rail on your upper receiver. Once everything is lined up correctly, slide the handguard back off and apply some of the included loctite to the barrel nut. What?!
The MI handguard uses a proprietary barrel nut with tabs towards the rear, where the nut meets the receiver (yeah, yeah). These tabs index the handguard, and stop it from rotating. With the receiver behind the barrel nut, the only direction the handguard can go is forward. So the MI design team machined two sections in the barrel nut that slim down considerably. The rail clamps into those sections with a pair of helicoils. The loctite is simply added as an extra measure. I have not tried out this installation without the loctite.
So how does it feel? The short answer is rock solid. The lockup with the barrel nut is incredibly positive, and there is zero movement, wobble, or rotation in the rails. After banging the test carbine into objects, dropping it, stepping on it, and throwing it, there has been no issue with the retention or lockup of the system.
Accessories
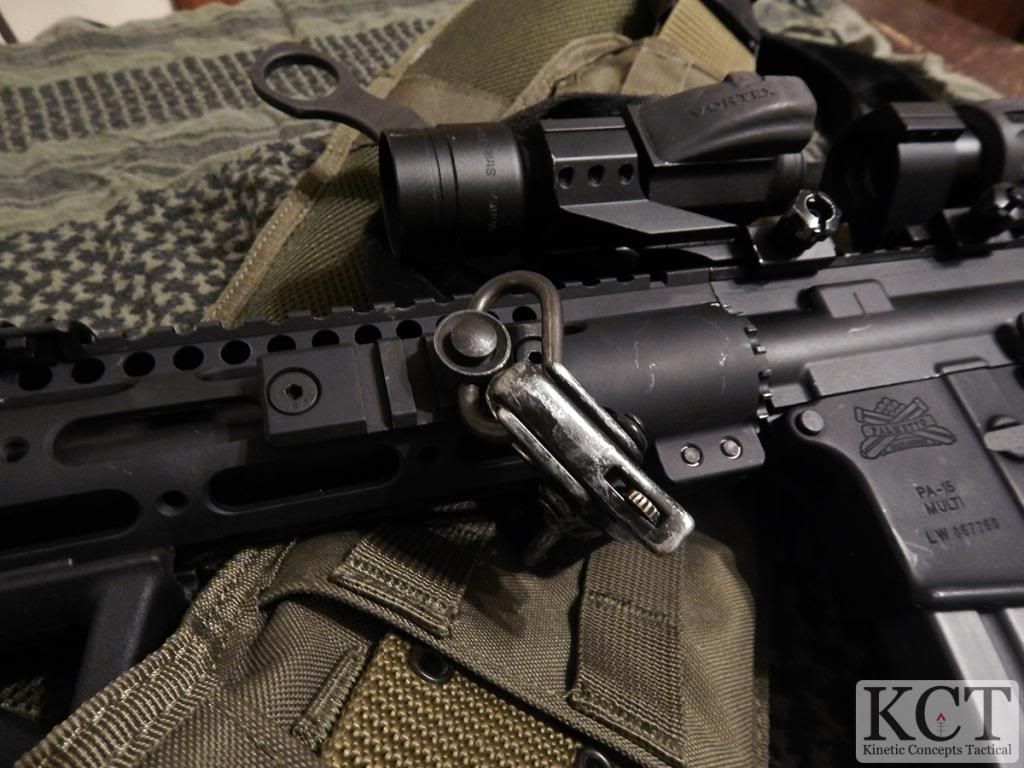
The MI Gen II SS comes with the barrel nut wrench to complete the installation as well as three short rail sections. One of these sections is metal, and includes a QD sling swivel socket. The other two sections are polymer. Now, while polymer is a good idea for weight savings, the rail sections MI included could use a bit of work. When tightening down the rail section for a vertical foregrip, the rail section cracked along the thinner front facing. It's a small crack, and only visible if you really torque the rail down, but it was disappointing to have a rail on a brand new handguard crack like that. The rail is still perfectly usable, and the crack is hairline, but again, not what I expected.
The rail sections themselves are pretty short at 2.5". MI is now selling 4.5" sections, as well as aluminum rail sections, which will alleviate the problem with the plastic rails cracking. MI did well in producing the QD socket rail section in aluminum, as this section will probably take the most violent abuse as the rifle is dropped onto its sling. By comparison, using a grip or handstop produces relatively little force, hence molding the other rail sections in polymer.
These rail sections screw directly into the handguard at 3, 6, and 9 o'clock positions on the handguard. What is interesting that between the 3 and 6, and 6 and 0 o'clock positions, you can add additional rail sections, offset from the primary directions. This allows the user to configure their handguard they way that they want without going overboard with something like an 8-sided handguard.
So far, the rail sections have held to the rail very well, and the screws have not backed out ot stripped the internal threads on the rail. Personally, I like this better than screwing the rails into backers behind the handguard. Although that method is modular, and the backers can be replaced if they become worn or stripped, it is a huge pain to install the rail sections while the rail is mounted on the gun.
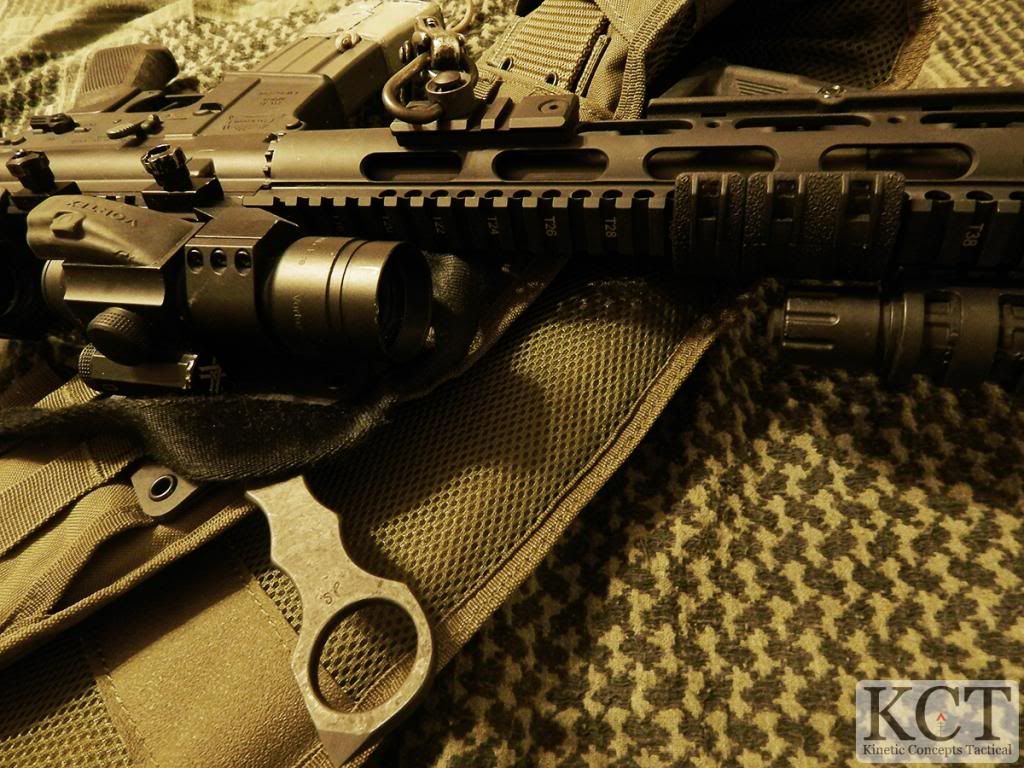
The rail is incredibly slim, and has a very small outer diameter compared to other handguards out there. This appeals to me, as does the light weight. By going to my current setup, I'm not adding much weight to my rifle over the traditional polymer handguards and fixed front sight.
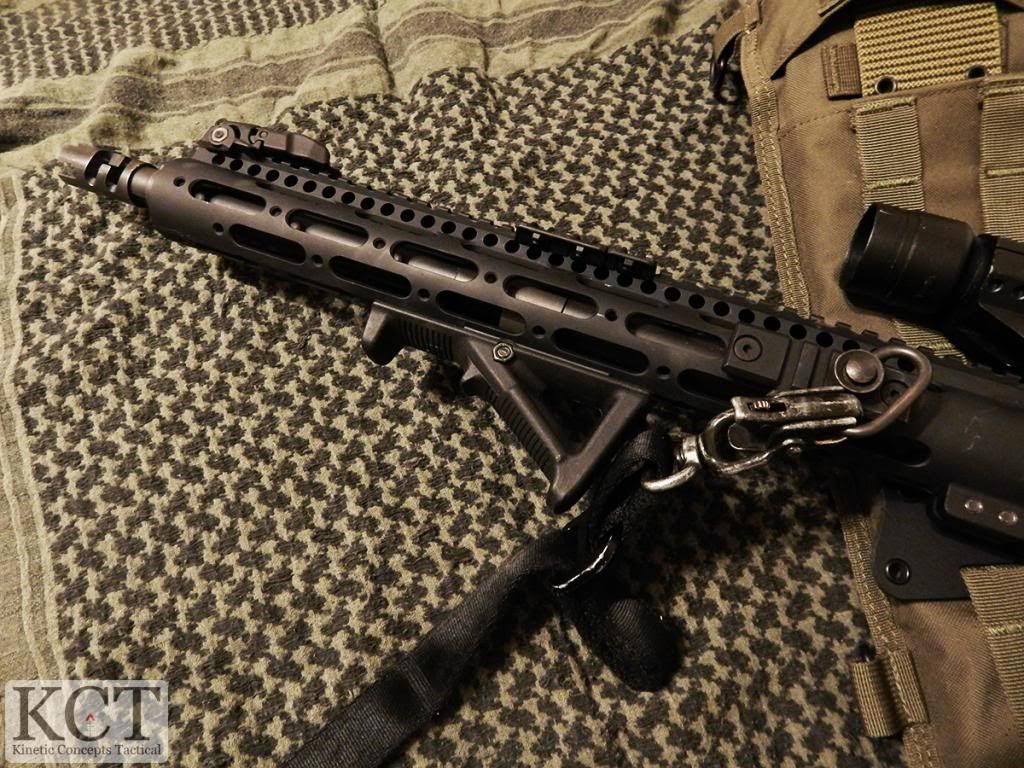
The setup I selected does offer a few challenges, however. Obviously, running a 15" rail on a 16" barrel stops me from running my support hand out to the end of the handguard, my arms simply aren't that long. I mounted an AFG on a rail section to give me a bit more diameter to establish a positive grip, as the MI is very thin, even for my small hands. The problem then became where I mounted my light, as I wanted to keep it around my normal hand placement for reliable use of my fundamentals under stress.
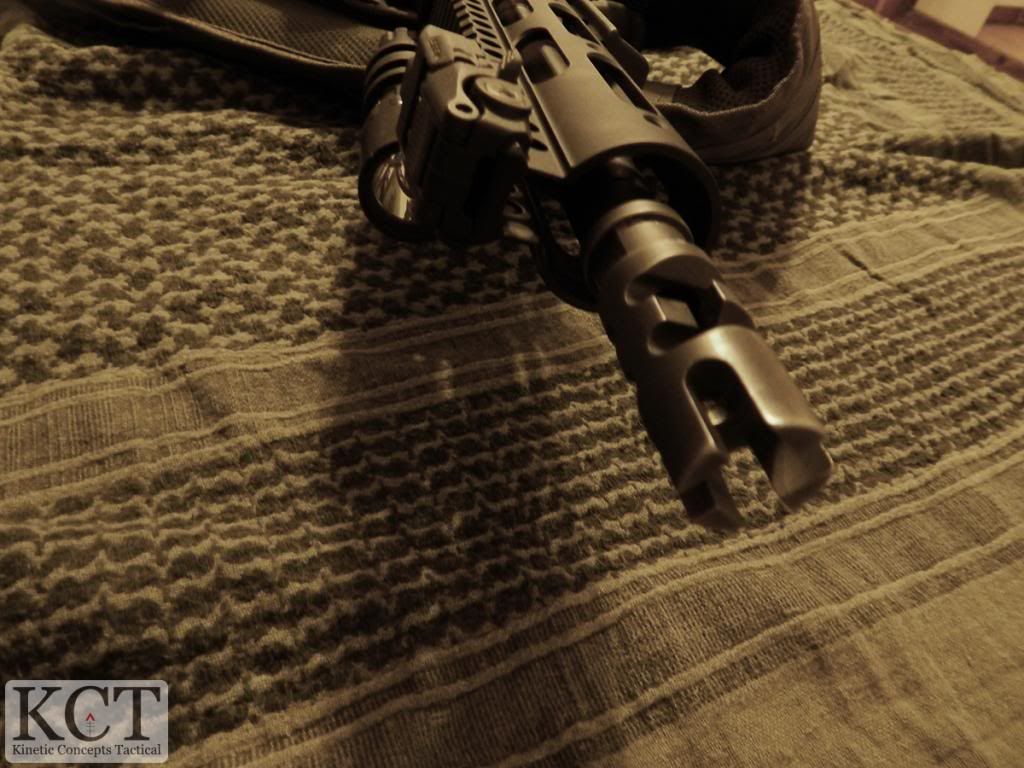
This caused me to mount my light several inches back from the end of the handguard, which causes some muzzle and front sight shadow. Until I can find a way around this, or break down and get a tape switch, I'm stuck with this, but there are worse problems to have.
The upside to all of this is my carbine is much lighter than before, with a little over 5" of extra rail. This gives me a massive sight radius, and engagements using irons are much faster than with a traditional carbine setup.
Up next, we'll be beating the heck out of this ting on the range to see how it holds up to what you can throw at it.
UPDATE
After running this rail system for several months, I can safely say that I love it. It feels much lighter and makes the gun much "handier" than the heavier YHM rail that it replaced. I used this setup at a 2-day MDFI carbine course this spring, and had no complaints. The handguard never heated up, even under rapid fire strings. I do wear gloves when I shoot, but even handling the rifle with bare hands was not uncomfortable. The value for the money on this rail is great. Being able to place rail sections where you need is an excellent feature, and I really appreciate the lighter weight when running the gun all day. The lower mass really helps the rifle "point" better, and reduces the tendency to "overswing" a heavier rifle.
I solved the problem of mounting my light by replacing the Viking Tactics mount with the new Magpul light mount. This fits in really well with the AFG, and creates a great control cluster where I can access my light switch and MBUS without breaking my grip. The height and forward offset of the Magpul mount eliminates the shadowing issues I previously had with the Viking Tactics mount.
There are a lot of choices on the market when it comes to a good rail system, and in my opinion, the MI Gen 2 SS is a top option in a crowded market.
Stay frosty.
No comments:
Post a Comment